OAuth 2.0 Setup for Applications
OAuth 2.0 enables your application to securely access BreezeDoc on behalf of users. This guide covers creating OAuth clients, implementing the authorization flow, managing credentials, and building multi-user integrations with the BreezeDoc API.
Prerequisites
- Plan: Pro or Agency plan (API access not available on Free plan)
- Account: Active BreezeDoc account with verified email
- Application: Web application with a public URL for redirect
- Technical Knowledge: Understanding of OAuth 2.0 authorization code flow
- Development Tools: Server-side programming environment (Node.js, Python, PHP, Ruby, etc.)
What is OAuth 2.0?
OAuth 2.0 is an industry-standard protocol for authorization. BreezeDoc's OAuth implementation allows:
- User Authorization - Users grant your app access to their BreezeDoc account
- Secure Access - No password sharing required
- Scoped Permissions - Request only the access your app needs
- Token Refresh - Long-lived access with automatic token renewal
- Multi-User Support - One application serves many BreezeDoc users
- Revocable Access - Users can revoke access at any time
OAuth 2.0 vs Personal Access Tokens
Choose the right authentication method for your use case:
Use OAuth 2.0 when:
- Building applications for multiple BreezeDoc users
- Distributing your application to others
- Creating public integrations or marketplace apps
- Need users to control access permissions
- Building SaaS products that integrate with BreezeDoc
Use Personal Access Tokens when:
- Building personal scripts or internal tools
- Only accessing your own BreezeDoc account
- Rapid prototyping and testing
- Server-to-server integrations you control
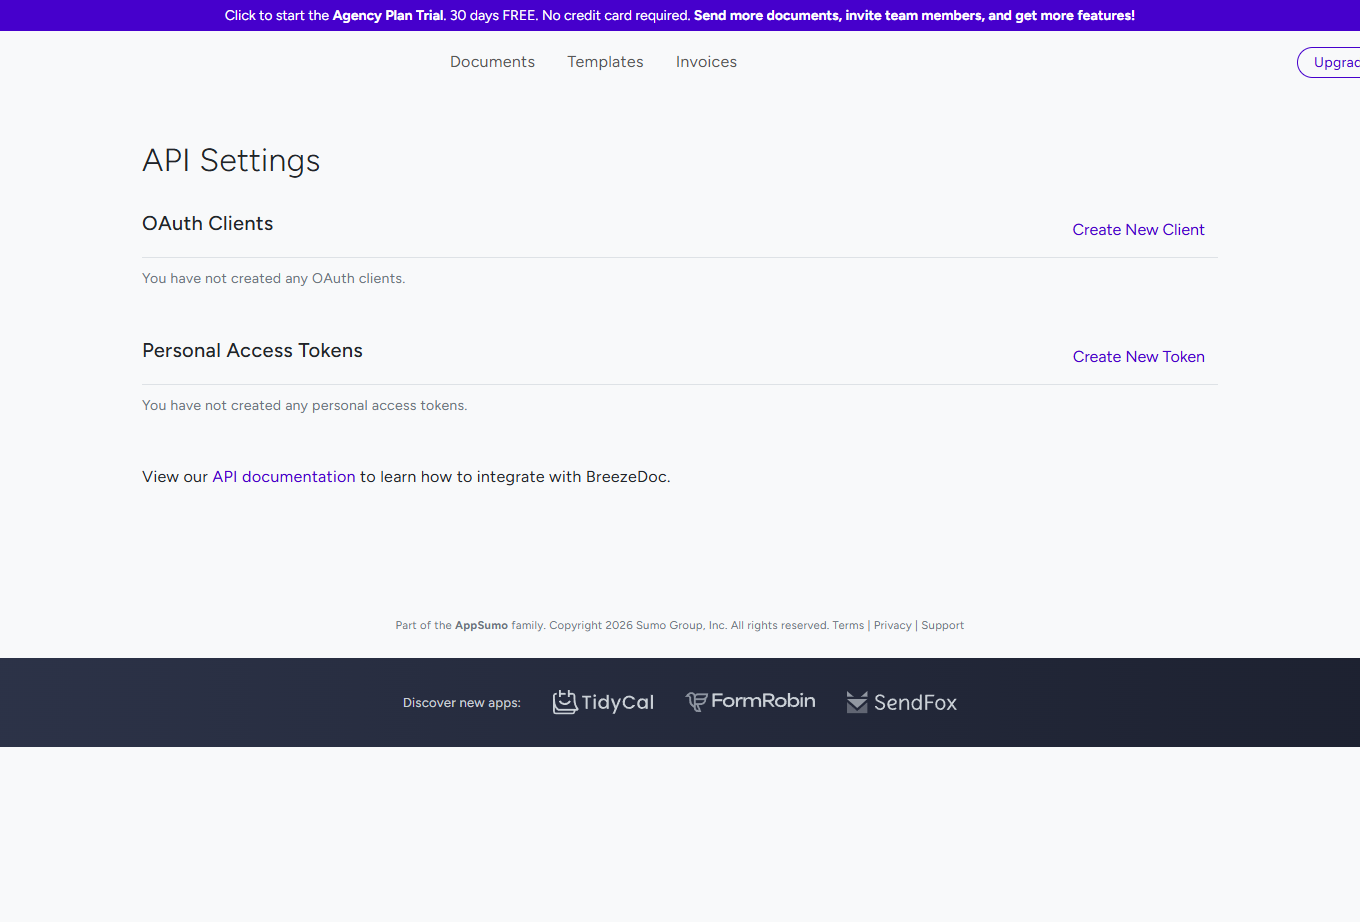
Creating an OAuth Client
Step-by-Step Instructions
- Log in to your BreezeDoc account.
- Navigate to Settings ➞ Integrations ➞ API Settings.
- Scroll to the OAuth Clients section.
-
Click Create New Client.
- In the modal, enter your application details:
- Name: Your application name (e.g., "Project Manager Pro", "Document Automation Tool") - Something your users will recognize and trust.
- Redirect URL: Your application's authorization callback URL (e.g., "https://yourapp.com/auth/breezedoc/callback").
- Click Create.
- Your OAuth client is created and displayed in the table with:
- Client ID: Public identifier for your application
- Name: Your application name
- Secret: Confidential key for authentication (keep secure!)
- Copy both the Client ID and Secret immediately and store them securely.

Understanding Redirect URL
The redirect URL is where BreezeDoc sends users after they authorize your application. Requirements:
- Must be HTTPS in production (HTTP allowed for localhost development)
- Exact match required: URL must match exactly when you request authorization
- Multiple URLs: Create separate OAuth clients for different environments (development, staging, production)
- Examples:
- Production:
https://yourapp.com/auth/breezedoc/callback - Development:
http://localhost:3000/auth/breezedoc/callback - Staging:
https://staging.yourapp.com/auth/breezedoc/callback
- Production:
Implementing the OAuth Flow
Authorization Code Flow Overview
BreezeDoc uses the standard OAuth 2.0 authorization code flow:
- User Initiates: User clicks "Connect BreezeDoc" in your app
- Authorization Request: Redirect user to BreezeDoc authorization URL
- User Approves: User grants your app access to their BreezeDoc account
- Authorization Code: BreezeDoc redirects back to your app with authorization code
- Exchange Code for Token: Your server exchanges code for access token and refresh token
- Access API: Use access token to make API requests on behalf of the user
- Token Refresh: Use refresh token to get new access tokens when they expire
Step 1: Redirect User to Authorization URL
Construct the authorization URL and redirect the user:
GET https://breezedoc.com/oauth/authorize?
  client_id=YOUR_CLIENT_ID&
  redirect_uri=YOUR_REDIRECT_URL&
  response_type=code&
  scope=*
Parameters:
- client_id: Your OAuth Client ID from BreezeDoc
- redirect_uri: Your registered redirect URL (must match exactly)
- response_type: Always
codefor authorization code flow - scope: Requested permissions (use
*for full access) - state (optional but recommended): Random string to prevent CSRF attacks
Step 2: Receive Authorization Code
After user approval, BreezeDoc redirects to your callback URL with the authorization code:
https://yourapp.com/auth/breezedoc/callback?
  code=AUTHORIZATION_CODE&
  state=YOUR_STATE_VALUE
Extract the code parameter from the query string.
Step 3: Exchange Code for Access Token
From your server, make a POST request to exchange the code for tokens:
POST https://breezedoc.com/oauth/token
Content-Type: application/json

{
  "grant_type": "authorization_code",
  "client_id": "YOUR_CLIENT_ID",
  "client_secret": "YOUR_CLIENT_SECRET",
  "redirect_uri": "YOUR_REDIRECT_URL",
  "code": "AUTHORIZATION_CODE"
}
Response:
{
  "token_type": "Bearer",
  "expires_in": 31536000,
  "access_token": "eyJ0eXAiOiJKV1...",
  "refresh_token": "def50200a8f7..."
}
Important:
- Store the
access_tokensecurely (encrypt in database) - Store the
refresh_tokenfor renewing access - Never expose tokens to client-side code
- Associate tokens with the user in your database
Step 4: Make API Requests
Use the access token in the Authorization header for all API requests:
curl -X GET https://breezedoc.com/api/me \
  -H "Authorization: Bearer ACCESS_TOKEN" \
  -H "Content-Type: application/json"
Step 5: Refresh Access Token
When the access token expires, use the refresh token to get a new one:
POST https://breezedoc.com/oauth/token
Content-Type: application/json

{
  "grant_type": "refresh_token",
  "refresh_token": "YOUR_REFRESH_TOKEN",
  "client_id": "YOUR_CLIENT_ID",
  "client_secret": "YOUR_CLIENT_SECRET",
  "scope": "*"
}
Response: New access_token and refresh_token (replace old values)
Managing OAuth Clients
Viewing Your OAuth Clients
- Go to Settings ➞ Integrations ➞ API Settings.
- View all OAuth clients in the OAuth Clients table.
- See Client ID, Name, and Secret for each client.
Editing an OAuth Client
- Find the client in the OAuth Clients table.
- Click Edit next to the client name.
- Update the Name or Redirect URL as needed.
- Click Save Changes.
Note: Client ID and Secret cannot be changed. If you need new credentials, delete the client and create a new one.
Deleting an OAuth Client
- Go to Settings ➞ Integrations ➞ API Settings.
- Find the client in the OAuth Clients table.
- Click Delete next to the client name.
- Confirm the deletion.
Warning: Deleting an OAuth client immediately revokes all access tokens issued to that client. All users who authorized your application will lose access.
Managing Authorized Applications
User Perspective: Revoking Access
Users can see and revoke applications that have access to their account:
- Go to Settings ➞ Integrations ➞ API Settings.
- Scroll to the Authorized Applications section.
- View list of applications with access to the account.
- Click Revoke next to any application to remove its access.
Security Best Practices
Client Secret Security
- Never commit to version control: Use environment variables or secrets management
- Server-side only: Never expose client secret in client-side code
- Rotate regularly: Delete old clients and create new ones periodically
- Separate environments: Use different clients for development, staging, and production
- Encrypt storage: Encrypt client secret when storing in configuration
Token Security
- Encrypt in database: Always encrypt access and refresh tokens at rest
- HTTPS only: Use HTTPS for all API requests to prevent token interception
- Short-lived sessions: Don't store tokens in browser localStorage or sessionStorage
- Handle expiration: Implement proper token refresh logic
- Monitor usage: Log API requests for security auditing
State Parameter (CSRF Protection)
Always use the state parameter to prevent CSRF attacks:
- Generate a random string before redirecting to authorization URL
- Store the state value in session or encrypted cookie
- Include state in authorization URL
- Verify the returned state matches your stored value
- Reject authorization if state doesn't match
Code Examples
Example: Node.js with Express
const express = require('express');
const axios = require('axios');
const app = express();

const CLIENT_ID = process.env.BREEZEDOC_CLIENT_ID;
const CLIENT_SECRET = process.env.BREEZEDOC_CLIENT_SECRET;
const REDIRECT_URI = 'https://yourapp.com/auth/breezedoc/callback';

// Step 1: Redirect to BreezeDoc
app.get('/auth/breezedoc', (req, res) => {
  const state = generateRandomString(); // Implement this
  req.session.oauth_state = state;

  const authUrl = `https://breezedoc.com/oauth/authorize?client_id=${CLIENT_ID}&redirect_uri=${REDIRECT_URI}&response_type=code&scope=*&state=${state}`;
  res.redirect(authUrl);
});

// Step 2 & 3: Handle callback and exchange code
app.get('/auth/breezedoc/callback', async (req, res) => {
  const { code, state } = req.query;

  // Verify state
  if (state !== req.session.oauth_state) {
    return res.status(403).send('Invalid state parameter');
  }

  // Exchange code for token
  try {
    const response = await axios.post('https://breezedoc.com/oauth/token', {
      grant_type: 'authorization_code',
      client_id: CLIENT_ID,
      client_secret: CLIENT_SECRET,
      redirect_uri: REDIRECT_URI,
      code: code
    });

    const { access_token, refresh_token } = response.data;

    // Store tokens securely (encrypt in database)
    await saveUserTokens(req.user.id, access_token, refresh_token);

    res.redirect('/dashboard');
  } catch (error) {
    res.status(500).send('Authorization failed');
  }
});
Example: Python with Flask
from flask import Flask, redirect, request, session
import requests
import os

app = Flask(__name__)
app.secret_key = os.environ['SECRET_KEY']

CLIENT_ID = os.environ['BREEZEDOC_CLIENT_ID']
CLIENT_SECRET = os.environ['BREEZEDOC_CLIENT_SECRET']
REDIRECT_URI = 'https://yourapp.com/auth/breezedoc/callback'

@app.route('/auth/breezedoc')
def authorize():
    state = generate_random_string()  # Implement this
    session['oauth_state'] = state

    auth_url = f"https://breezedoc.com/oauth/authorize?client_id={CLIENT_ID}&redirect_uri={REDIRECT_URI}&response_type=code&scope=*&state={state}"
    return redirect(auth_url)

@app.route('/auth/breezedoc/callback')
def callback():
    code = request.args.get('code')
    state = request.args.get('state')

    # Verify state
    if state != session.get('oauth_state'):
        return 'Invalid state parameter', 403

    # Exchange code for token
    response = requests.post('https://breezedoc.com/oauth/token', json={
        'grant_type': 'authorization_code',
        'client_id': CLIENT_ID,
        'client_secret': CLIENT_SECRET,
        'redirect_uri': REDIRECT_URI,
        'code': code
    })

    data = response.json()
    access_token = data['access_token']
    refresh_token = data['refresh_token']

    # Store tokens securely
    save_user_tokens(session['user_id'], access_token, refresh_token)

    return redirect('/dashboard')
Troubleshooting
Issue: "redirect_uri_mismatch" error
Fix: The redirect URI in your authorization request must exactly match the one registered in your OAuth client. Check for trailing slashes, HTTP vs HTTPS, and exact path matching. Update your OAuth client's redirect URL in API Settings if needed.
Issue: "invalid_client" error when exchanging code
Fix: Verify your Client ID and Client Secret are correct. Ensure you're using the client secret, not the client ID, for the client_secret parameter. Check that the OAuth client hasn't been deleted.
Issue: Access token not working / 401 Unauthorized
Fix: Verify the token hasn't expired. Check that you're using the correct Authorization header format: Authorization: Bearer TOKEN . Ensure the user hasn't revoked access to your application. Try refreshing the access token using the refresh token.
Issue: Cannot see OAuth Clients section
Fix: API access (including OAuth) requires Pro or Agency plan. Verify your plan in Settings ➞ Billing. If on Free plan, upgrade to Pro or Agency. If recently upgraded, log out and back in to refresh permissions.
Issue: User stuck on authorization screen
Fix: Ensure the redirect URI is publicly accessible and not localhost (unless testing). Check that your application name is clear and trustworthy. Verify the authorization URL is correctly formatted with all required parameters.
FAQ
Q: How many OAuth clients can I create?
A: There is no hard limit on the number of OAuth clients. Create separate clients for different environments (development, staging, production) or different applications.
Q: Can I change my Client ID or Client Secret?
A: No, Client ID and Secret are permanent for each OAuth client. If you need new credentials, delete the client and create a new one. Note that this will revoke all existing access tokens.
Q: How long do access tokens last?
A: Access tokens expire after 1 year (31536000 seconds). Use the refresh token to obtain new access tokens before expiration. Implement automatic token refresh in your application.
Q: What scopes are available?
A: Currently, BreezeDoc OAuth supports full access scope (* ). Granular scopes for specific permissions may be added in the future. Check the API documentation for updates.
Q: Can I use OAuth for single-page applications (SPAs)?
A: OAuth 2.0 requires a client secret, which cannot be safely stored in client-side code. For SPAs, implement OAuth on your backend server and use session-based authentication between your SPA and server. Alternatively, use PKCE (Proof Key for Code Exchange) if supported.
Q: What happens if a user revokes access to my application?
A: When a user revokes access, all access tokens for your application are immediately invalidated. Your API requests will return 401 Unauthorized errors. Handle this gracefully by prompting the user to re-authorize your application.
Need more help? Contact our support team - we are here to help!